Deinstallation via Adobe Cleaner Tool
To fully uninstall all Adobe Applications, we recommend using the Adobe Cleaner Tool. Please follow these instructions to do so.
Instructions Windows
Download the Adobe Cleaner Tool from the Adobe website. Run it as administrator. It is recommended that you do not run the software directly from the download folder, but move it first.
A CMD window will open.
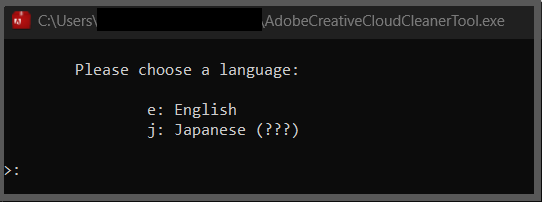
Select English as the language here with "e" and confirm with Enter.
Accept the license terms by pressing "y" and Enter.
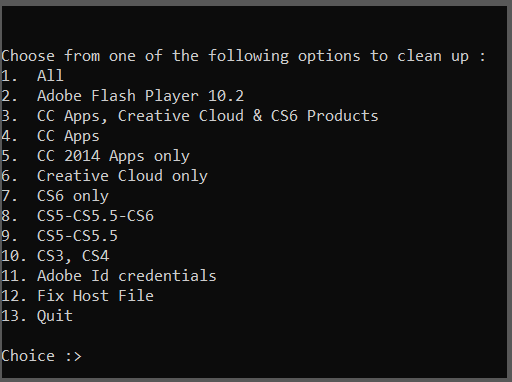
Select "All" by pressing the "1" and then Enter.

Select "Clean All" with the corresponding number and confirm with Enter.
Depending on the number of Adobe applications installed, this menu will have a different appearance. "Clean All" is not necessarily item #2, please check for yourself which digit to enter.
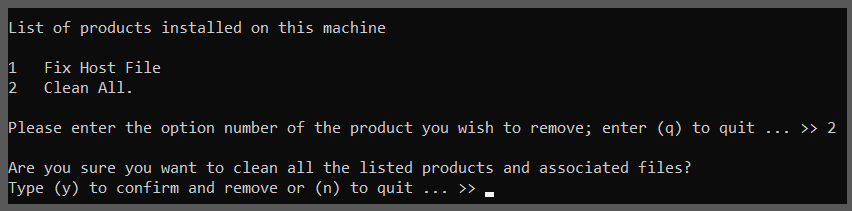
Confirm with "y" and Enter. All Adobe applications will then be removed. Press any key to close the Cleaner Tool.
Please repeat the above steps one additional time and restart the PC afterwards.
Instructions MacOS
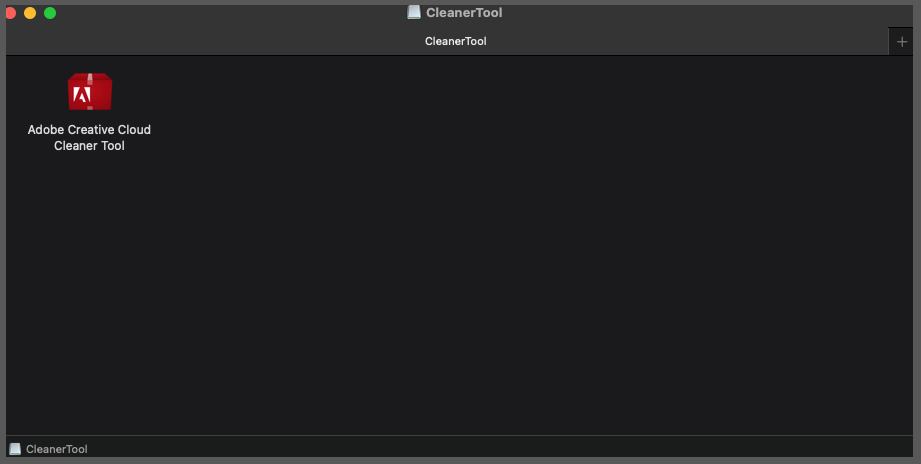
Download the Adobe Cleaner Tool from the Adobe website.
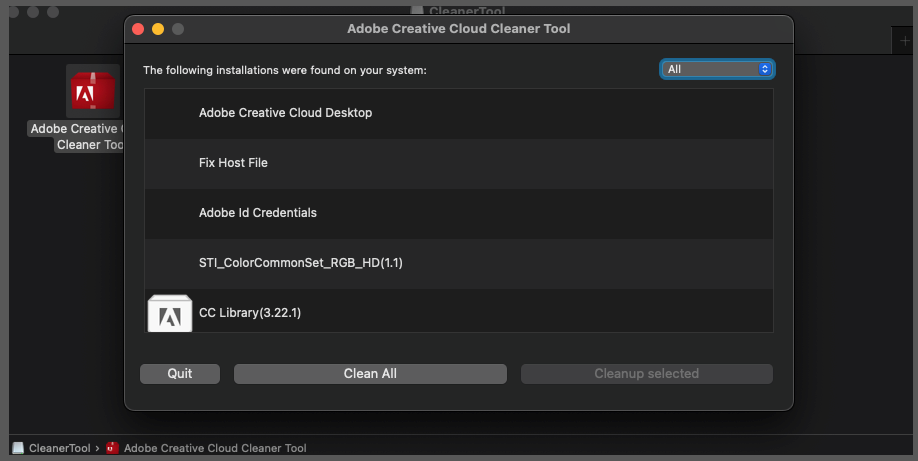
This window opens.
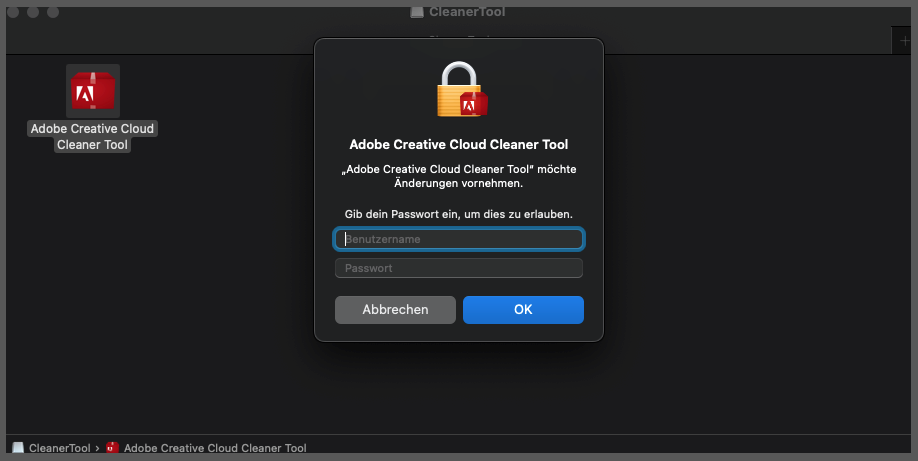
Select the application to launch the program. You will need to authenticate with your Apple user ID to do so.
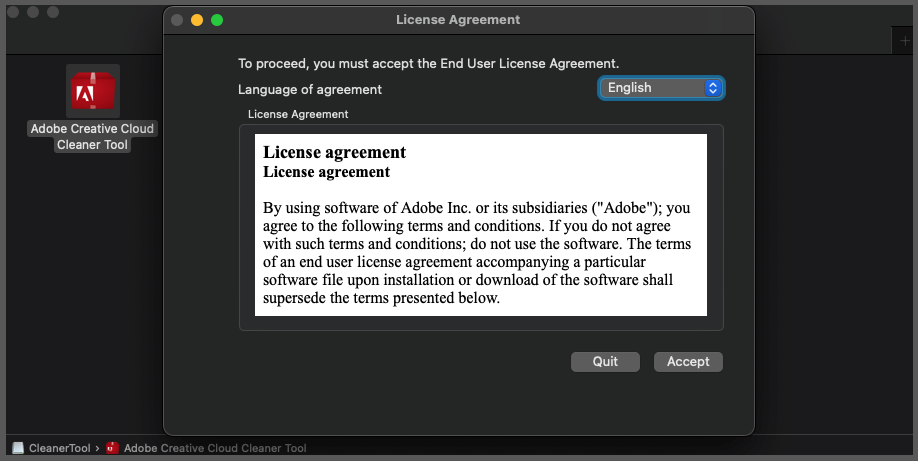
In the next step, accept the license agreement.
A window opens. Select "Clean All" here. Once only "Fix Host File" is still displayed in the list, end the process with "Quit".
Then run this process again.
After that, search for "Adobe" in the Finder and move all found files to the trash bin and empty it.
After that, restart the MAC to remove all Adobe applications and files for good.