Explanation of the IDM Functions
The Identity Management (IDM) serves as a platform for various functions that you can use with your UniAccount.
The IDM can be accessed via < uni-kassel.de/go/userapp >.
You can log in to the IDM with your UniAccount and the corresponding password.
The various tiles are listed below, with an explanation of the function available there and a link to the corresponding instructions in the ITS manual.
If nothing happens after clicking on a tile, your web browser is probably blocking the pop-up window that should actually open. Please make sure that your web browser allows the opening of pop-up windows for userapp.its.uni-kassel.de.
In Mozilla Firefox, for example, you will see a message and an option to allow the pop-up window directly below the address bar.
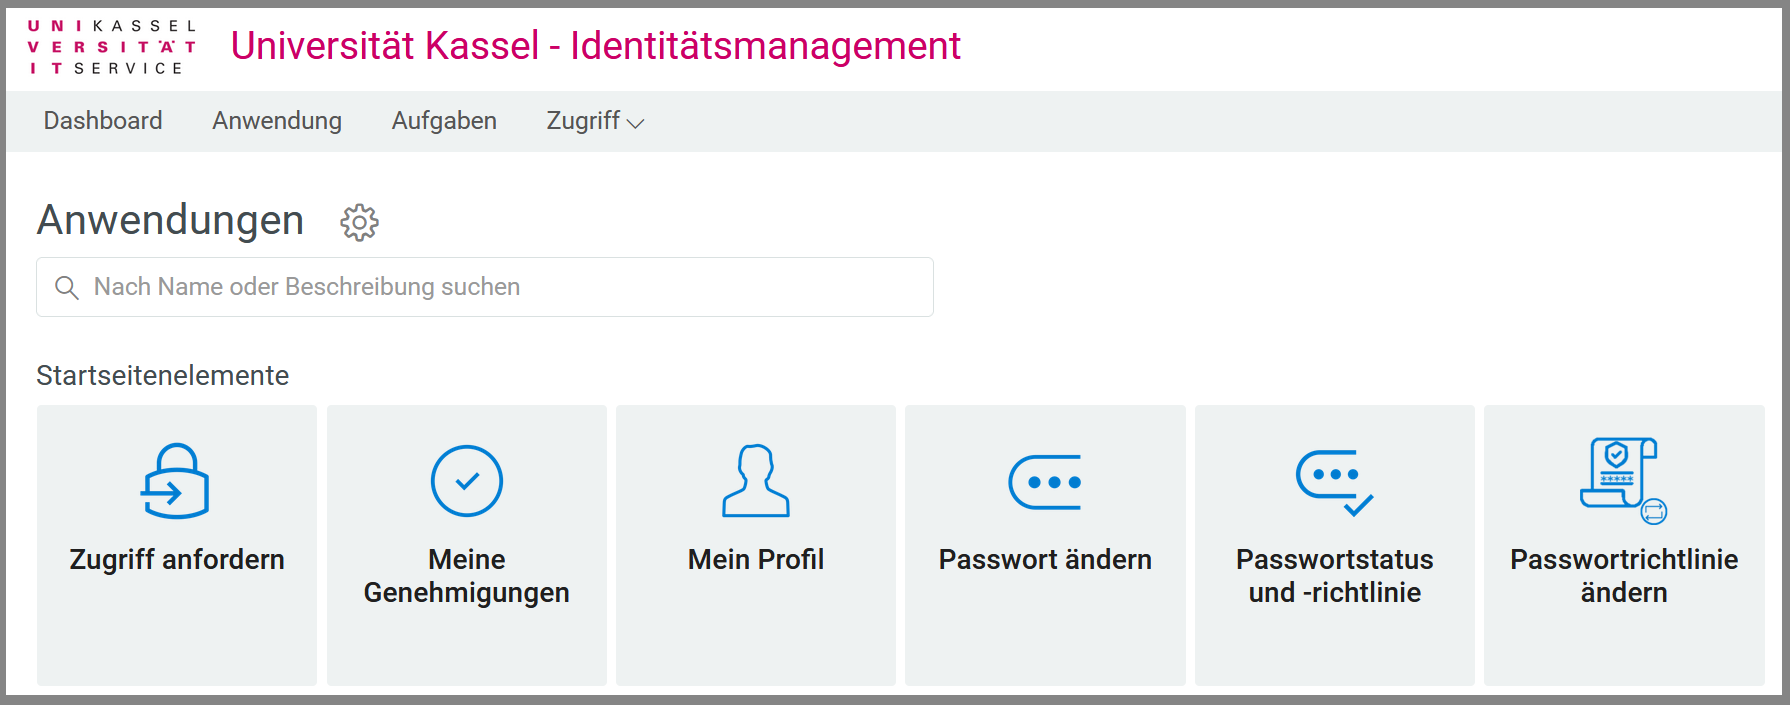
Home page elements
After logging in to IDM, you will see this view. From here, you can manage your password directly or access further functions via "Request access".
Requests
Clicking on "Request access" takes you to the "Requests" category. This is divided into several subcategories.
Please note that some of the categories are only visible to employees (not HiWis).
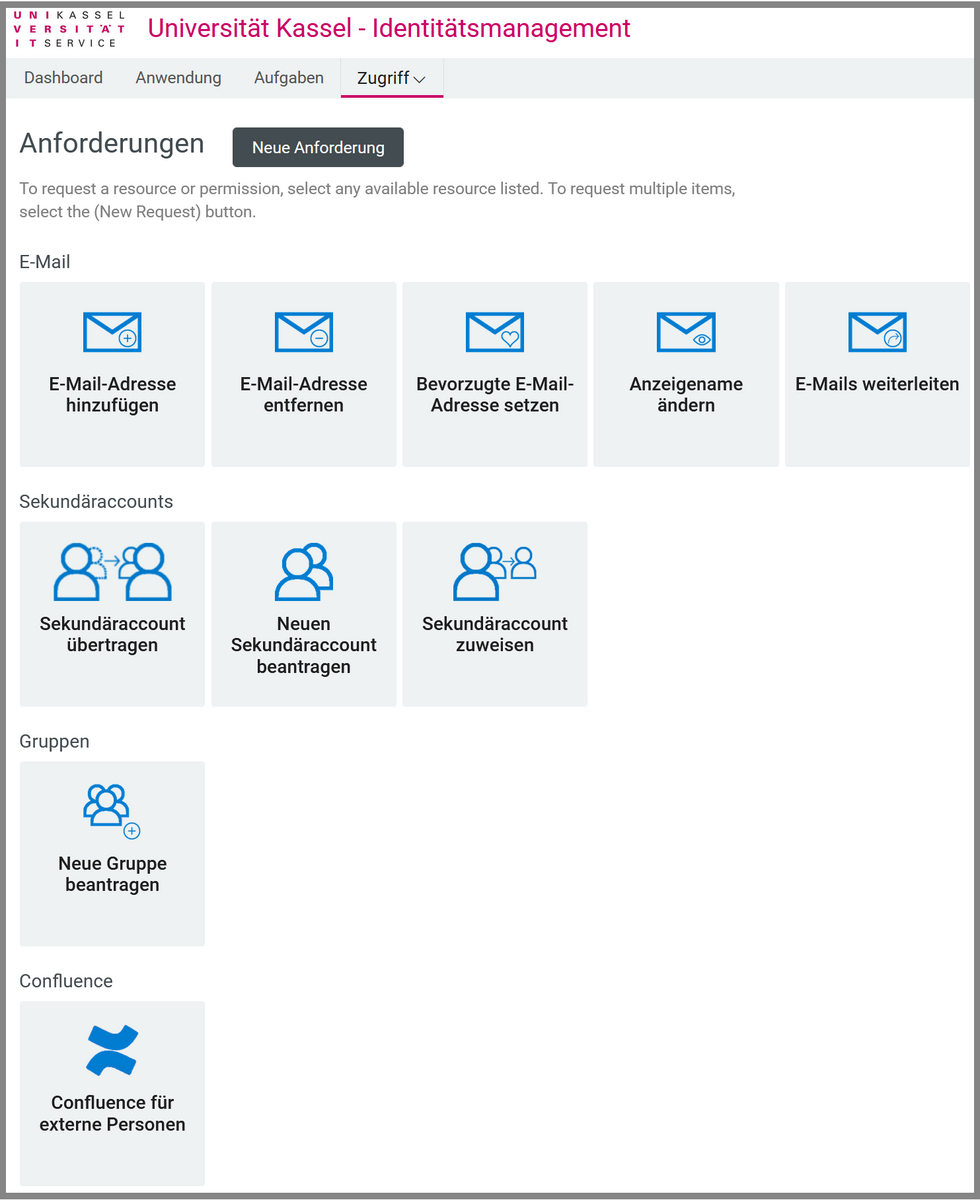
Here you can manage various settings relating to the e-mail address of your UniAccount.
Students can use the "Forward emails" function to forward emails from their student email address to a private email address. Please note that it is not permitted to forward work e-mails to e-mail addresses outside the university.
A detailed explanation of the individual functions can be found on the e-mail address and mailbox manual page.
This tab only contains elements if you are logged in with an employee account. The "Transfer/assign secondary account" elements are only displayed if you already administer a secondary account with your primary account.
A detailed explanation of the individual functions can be found on the manual page for secondary accounts.
Here you can request groups and manage approved groups. These groups can be used for joint work on a group network drive (share/Samba drive) or for managing an SVN repository.
The "Manage groups" tile is only displayed if you already manage at least one group with the logged-in primary account.
A detailed explanation of the individual functions can be found on the Groups manual page.
This tab only contains elements if you are logged in with an employee account. The "Manage Confluence accounts" tile is only displayed if you already administer at least one Confluence account for external persons with your primary account and this account has already been activated.
You can find a detailed explanation of the individual functions on the Confluence accounts for external persons manual page.
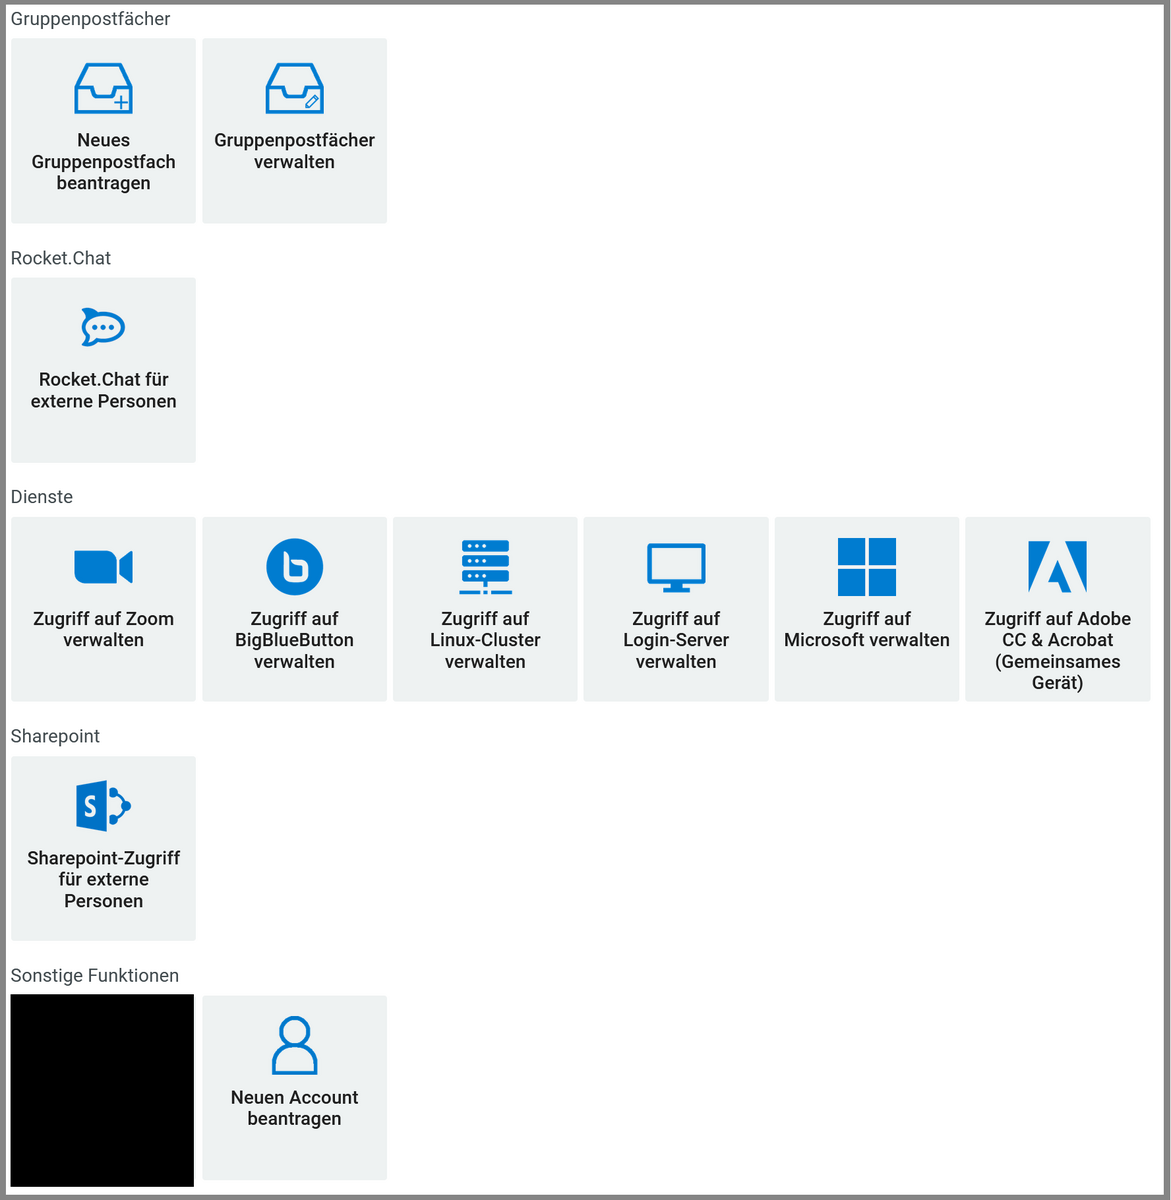
This tab only contains elements if you are logged in with an employee account.
Group mailboxes are intended to give several people full access to a mailbox, whereby the administrator of the mailbox can easily add new users/remove old users via the IDM.
Secondary accounts should not be used as a replacement for group mailboxes, as the sharing of account passwords is not permitted under the IT user regulations.
A detailed explanation of the individual functions can be found on the manual page for group mailboxes.
This tab only contains elements if you are logged in with an employee account. The "Manage Rocket.Chat accounts" tile is only displayed if you already administer at least one Rocket.Chat account for external persons with your primary account and this account has already been activated.
A detailed explanation of the individual functions can be found on the manual page for Rocket.chat accounts for external persons.
Here you can activate access to various services for your UniAccount.
The "Manage access to BigBluebutton" tile is only displayed if you are logged in with an employee account.
If you are logged in with an employee account, you will see "Single user license" instead of "Shared device" in the Adobe tile.
You can find a detailed explanation of how to activate access to Zoom on the Zoom manual page.
You can find a detailed explanation of how to activate access to BigBluebutton on the BigBlueButton manual page.
You can find a detailed explanation of how to enable access to the Linux cluster on the Linux cluster manual page.
After you have requested access to the login server, you can establish a connection to the login server via an SSH client with the command "ssh IhrUniAccounts@login.uni-kassel.de" and your UniAccounts password.
A detailed explanation of how to activate access to the Microsoft Campus license can be found on the Microsoft Campus manual page.
A detailed explanation of how to activate access to the Adobe Campus license can be found on the Adobe Campus manual page.
This tab only contains elements if you are logged in with an employee account. The "Manage Sharepoint accounts" tile is only displayed if you already administer at least one Sharepoint account for external persons with your primary account and this account has already been activated.
You can find a detailed explanation of the individual functions on the Sharepoint accounts for external persons manual page.
This tab only contains elements if you are logged in with an employee account.
You have the option of requesting a guest/conference WLAN account via the "Request new account" tile. Please note that this type of account only has a limited duration. If you need a UniAccount for a longer period of time, please use the form to apply for a UniAccount [.pdf].
A detailed explanation of the individual functions can be found on the manual page for guest/WLAN accounts.